How can we model elastic rebound in the classroom?
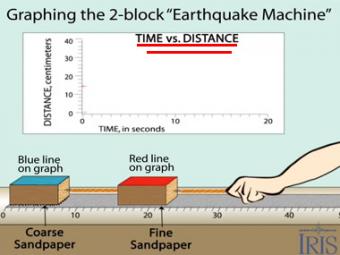
This animation shows the change in distance over time as the Earthquake Machine overcomes friction and jumps during an "earthquake". Observe that the red line steps up in small increments, while the blue line has large sudden movements, similar to the large movement expected during a catastrophic earthquake along a subduction zone. The change in strain over time is illustrated in the animation linked above: Earthquake Machine: Graphing Time vs Strain. Observe that the strain in the red line constantly builds and is then released, while in the blue line, the strain builds in sudden steps until a catastrophic release of energy occurs.
Model graphs time vs. distance to illustrate:
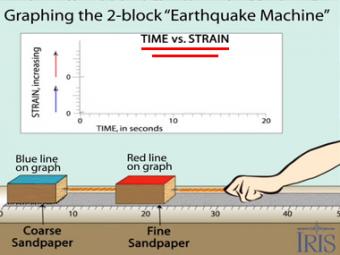
Graphing time vs. strain using the classic block-and-sandpaper "earthquake machine"
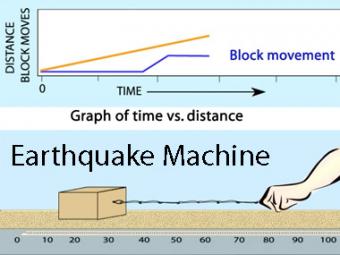
Animation of the single-block "Earthquake Machine", a mechanical model of the earthquake process using a wood block, sandpaper, and rubber bands. This model shows how "Forces, Faults, and Friction" interact as elastic energy is slowly stored when the rubber back stretches and then is rapidly released as the block jerks during an "earthquake".

This demonstration shows that rocks are elastic by squeezing a slit core of rock.
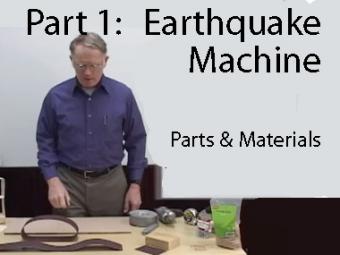
This video shows how to build the "Earthquake Machine", a physical model that represents the “earthquake cycle”, the slow accumulation of elastic energy in rocks on or adjacent to a fault followed by rapid release of elastic energy during an earthquake.
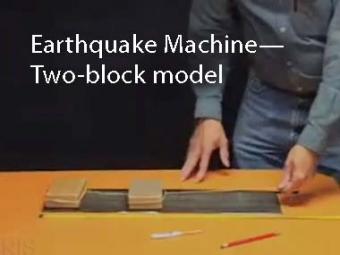
THE two-block "Earthquake Machine" uses two blocks with different grit sandpaper to model interactions between adjacent patches along a fault.
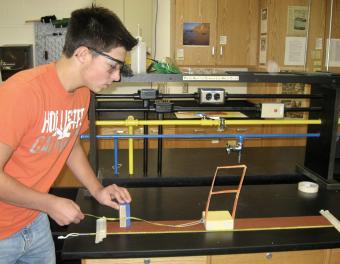
Using a block-and-sandpaper model, students collaborate in small groups to investigate how energy is stored elastically in rocks and released suddenly as an earthquake (the earthquake cycle). This activity emphasizes the role of mechanical models in understanding and testing ideas in science.