How can we model differential friction along a fault?
THE two-block "Earthquake Machine" model uses two blocks with different grit sandpaper to model interactions between adjacent patches on a fault. The two-block model demonstrates how motion on one area of a fault can increase stress on an adjacent area, bringing it closer to failure in an earthquake. The yellow line plots the steady displacement of the hand. The red line shows the strain on the rubber band between the hand and the red block. The strain drops suddenly to a lower level each time the red block slips (earthquake slip). There is low friction between the red block and the surface, so "earthquakes" tend to be more frequent and smaller. The blue line shows the strain on the rubber band between the blocks. The blue block has higher friction with the surface, so it tends to slip in larger "earthquakes."
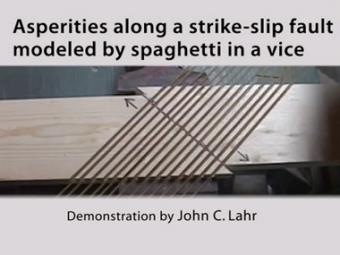
This demonstration, squeezing uncooked spaghetti noodles in a wood template set in a vise, effectively shows how asperities (stuck patches) on a fault rupture at different times.
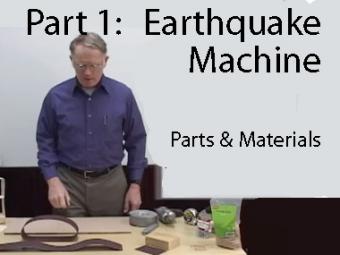
This video shows how to build the "Earthquake Machine", a physical model that represents the “earthquake cycle”, the slow accumulation of elastic energy in rocks on or adjacent to a fault followed by rapid release of elastic energy during an earthquake.
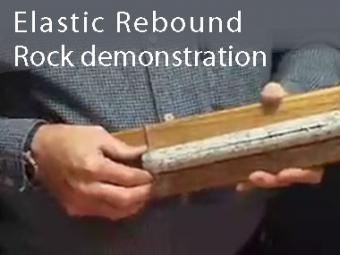
This demonstration shows that rocks are elastic by squeezing a slit core of rock.
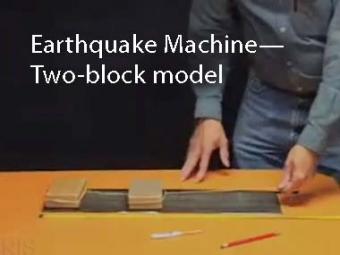
THE two-block "Earthquake Machine" uses two blocks with different grit sandpaper to model interactions between adjacent patches along a fault.
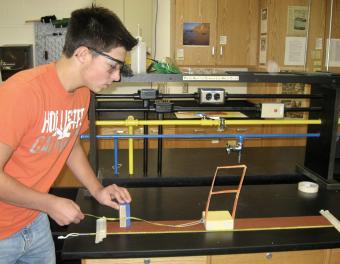
Using a block-and-sandpaper model, students collaborate in small groups to investigate how energy is stored elastically in rocks and released suddenly as an earthquake (the earthquake cycle). This activity emphasizes the role of mechanical models in understanding and testing ideas in science.
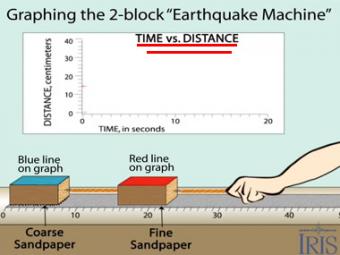
Graphing time vs. distance using the classic block-and-sandpaper "earthquake machine"
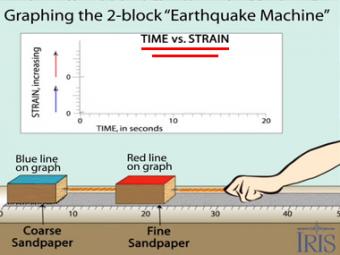
Graphing time vs. strain using the classic block-and-sandpaper "earthquake machine"